Friday, July 5, 2019

One thing leads to another...

I am so far behind on my blog and I am swimming in quilt projects!! It's crazy how quickly I can get myself neck deep in projects when I am trying so hard not to!  This time I can almost pinpoint where this round of craziness started.

My youngest, my Sweetling, had her high school graduation at the end of May.  She's been in a residential school for the last two years and I thought that had me prepared for what's next - her moving off to college.  But apparently, nothing can 100% prepare a mama to let go.
So instead of facing the inevitable, I buried myself in quilting with the Three projects.  I had things under control. I had focus. And I had momentum! I was making good progress!

Then Sweetling requested a special quilt to take with her in August.  Oh, of course, I am NOT going to refuse this request.  She showed me the pattern she wanted that she saw in a Google search for quilts.  It's actually an AccuQuilt  crazy quilt pattern for the Go! Big.  I don't own any AccuQuilt products.  So, I had to just use the picture for inspiration and do my best to reproduce it.
Sweets was pleased with the resulting top.
I was pleased with the my efforts.
My quilting friends expressed interest in this stack-and-whack-and-shuffle-the-deck piecing technique.  (I'll come back to this.)

~~~~ In the meantime, I participated in the Wanna Bee June class.  It was a mystery quilt where we brought 90 prepared fabric pieces to class and we were instructed to throw all those pieces into a bag. Then we were to pick one piece out at a time and sew.  This next pic shows what should have been the result of that...
... However, I used just about any and every piece of scrap fabric in my stash. The pieces were too chunky to be able to blend.  It was apparent they needed to be cut into smaller pieces and spread out more. (Mind you, my fellow class mates used controlled pallets and their tops with this setting are fantastic!)
.
I auditioned an alternate setting... I turned the blocks this way and that. I tried several complimentary colors for the half square triangles...

... But  none sparked "whimsy"
... but I felt potential.
I made a brave move and split half of the blocks diagonally and tried more settings...
setting #1

setting #2
and I auditioned with blocks split diagonally in the other direction to get this secondary square forming from the corners placed together.
setting #3

Now! I'm feeling some whimsy! I LOVE the scrappiness!! And by this time I was very invested in this project.
Though, I couldn't decide which setting to go with.  I took it to Facebook to ask my friends which setting.  The votes leaned toward the cleaner setting #1, but not enough to convince me.

After two nights of staring at the design board and pics on my phone, the thought popped into my head - "let the recipient choose the setting."
So starts the conversation with myself...
"Oooh, good idea!"
"K, who is the recipient?"
"Ya, who do I know that would love a Scrappy  with a capital "S" quilt like this?!?"
I'm afraid it might be a quilt only a quilt mama could love!
"💡 I know!! My son's girlfriend!! She's hinted, She's practically begged for a quilt.  And my son has almost demanded, not quite but almost 😝 "
"Ok. I'll send her a picture and ask her what she thinks. It's probably not quite what she had in mind."
😈 I couldn't help but giggle. 🤫 it's really a test!  😇 Let's see how much she really wants a quilt...

(BTW, I'm head-over-heals about this girl. I've never seen my son as happy as he is now.  To see him comfortable with himself is enough for me! The thing is they live 2 states away.  They've come for just 2 short visits. I'm still getting to know her.)

🤗 Without a moment's hesitation she accepted the offer.  She even chose setting #3, which I preferred most!  Omgosh! Is this girl perfect or what!?!!

Haha, but that's not the end of the story.
Now! this quilt has a purpose and sparks "Whimsy!"
It practically twinkles with whimsy as I put the blocks together.


and look at those nearly perfect 8 point centers!!

I had to make a few more units to complete the squares in the new setting. I texted the new calculations to son's gf.  It's was going to be 62" square, that's a good couch sized quilt.
Next thing I know my son texts me.  His gf doens't want to tell me but they think it's too small.  Ok, no problem. What size do you want it?
.... sized for a California King!??!?
My first reaction - "No way!"
But I love her. And I love him. And I love them together.  I know she has seen a pic of that mess of fabrics on my design wall. And I can practically hear how she is visualizing that beautiful crazy mess spread out on her bed. And my "No!" quickly melts into "yes, I can do that for you!"
Another layer will be added to each block.  It's easy enough, just time consuming.
she loves foxes. So I found some fox prints to add into that extra layer.
-- that's how a one day class project turns into a CAKing project

~~ IN THE MEANTIME... back to my quilting friends interest in the top made for Sweets...

Their interest prompted me to offer to teach a simplified version of the piecing method at the Wanna Bees quilt group in Vernon, AL.   I whipped up a sample. The class is set for the July meeting.


At the same time all the above is going on, I helped Julia Graber set up a day trip to a quilt exhibition at The MAX in Meridian, MS for the ladies of Possum Town Quilt Guild.  Julia has two quilts in the exhibit which will be on display until mid'August.
 Just 4 of us went.  We had a fantastic Tuesday!


 After browsing the quilt exhibit we toured the rest of the museum which is all about Mississippi history.  It's really set up nicely and very interesting.  I think it needs to go on my "things to do" list for out of town visitors.


It's a 90 minute drive.  with one quilt shop between here and there. That gives lots of time for visiting in the car... On the way home, Julia Graber suprised me when she burst out with an idea that I should take her sit down long arm "George" to my home to try out for a year!
It was quite spontaneous.  I gave her a night to be able to retract the offer

Julia and I also go to Maple Street Charity quilting every Wednesday.
This is the top I am piecing there at the moment.
I asked Julia how serious she was about her offer.  She was so convinced of the idea that I felt she would have dragged me to her house to pick up the machine.  Of course, she didn't have to drag me because I was practically tripping over myself to get there!!


And now "George" temporarily lives with me.


And I think we're getting along quite well!


I have a few things to learn.

Here's the second practice small quilt - what a rush! I feel like I've been given wings!
My Heartbeat saw this second quilt and asked me if I might have a "practice" quilt for a co-worker and wife that are expecting a baby girl in August!
While I am please with this little scrappy log-cabin quilt. And in my opinion it is baby worthy.  It's also my opinion that it is not husband's-co-worker-baby-girl baby worthy.  So!! I have started yet another quilt top!

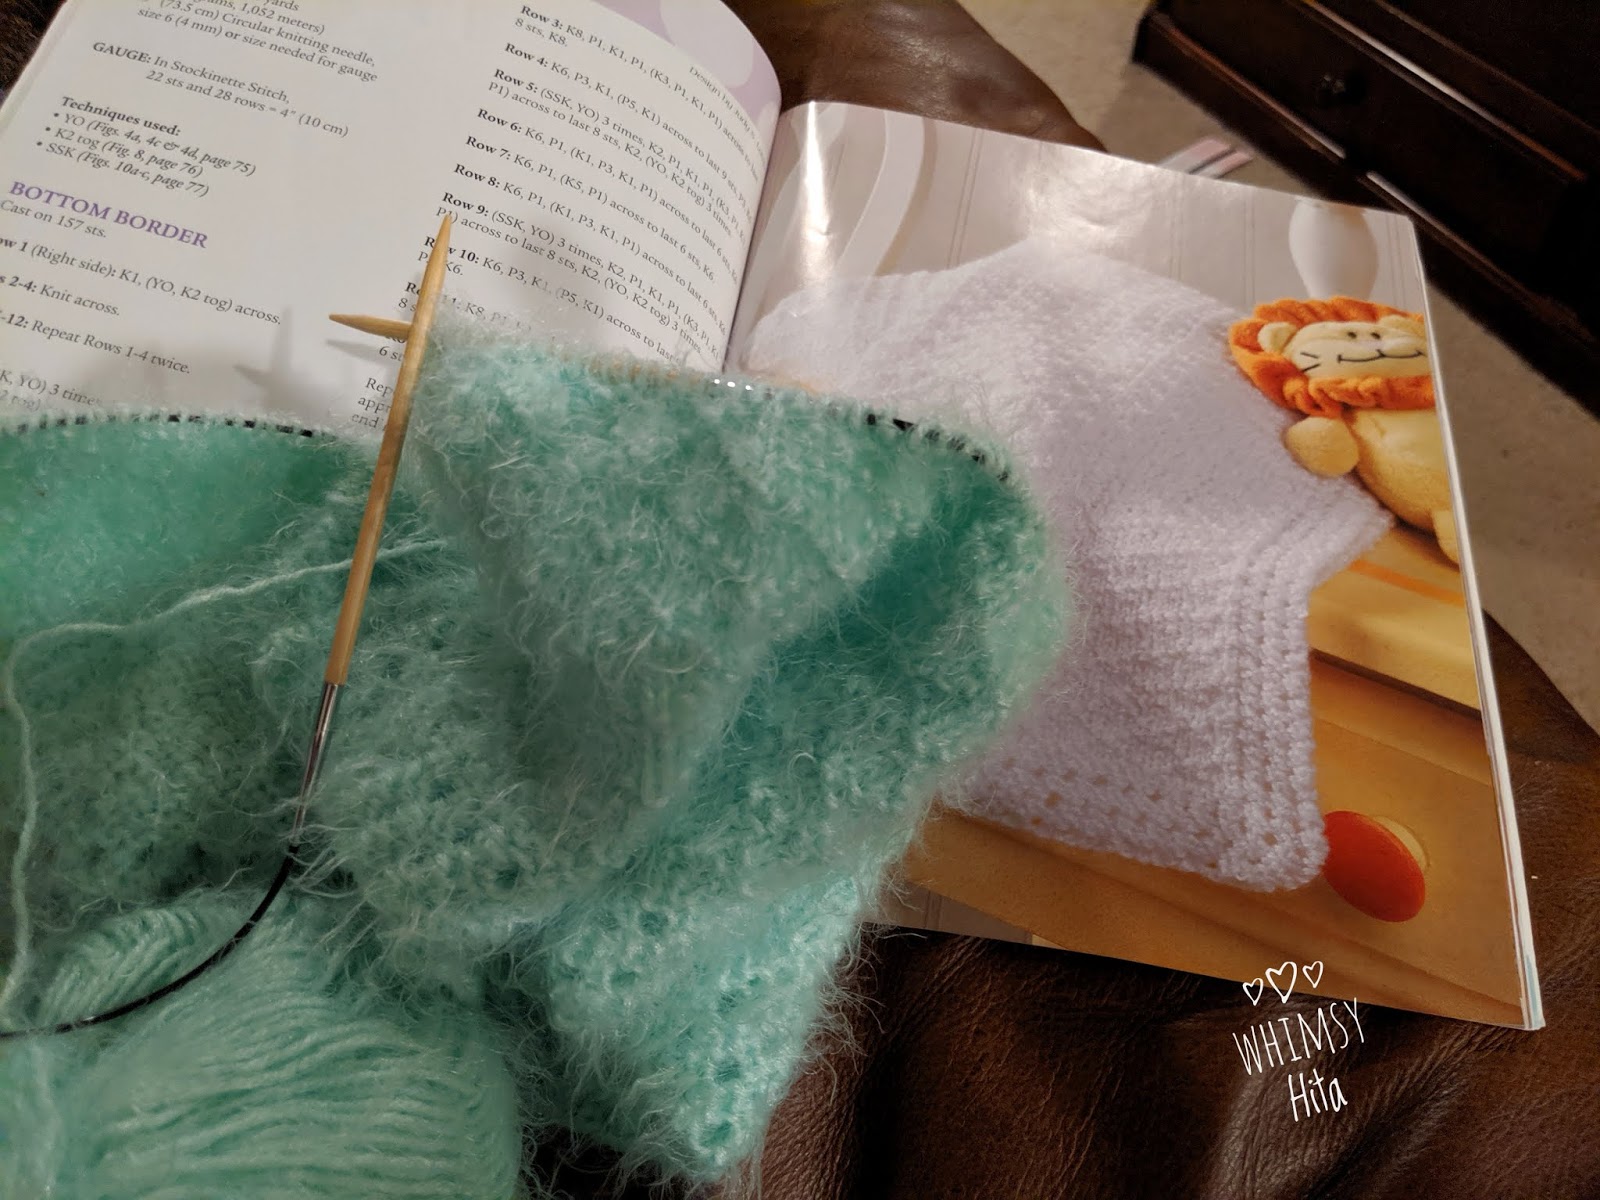
now, as if that's not enough... I've recently received news that inspired me to load a blankie onto the knitting needles!
 Let me count - 
1.  the medallion quilt challenge
2.  The ugly fabric challenge quilt
3.  the Green Chili Salsa quilt on the hand quilting frame
Then started:
4.  Sweetling's college quilt
5.  Wanna Bee mystery quilt - turned into quilt for son's gf
6.  Simplified Sweetling quilt for Wanna Bee class
7.  Small wall hanging practice "George" quilt
8.  Second practice small premie sized "George" quilt.
9.   Baby girl quilt for my Heart's co- worker
10.  Knitting baby blankie

Phewww!! Do you see why there hasn't been a blog update recently?   😜

Monday, May 13, 2019

Three projects

Just a quick blog update.
Since the beginning of this year I've been touting that I am going to finish some of the  quilts I've started.  At least the more recent ones that have been started in the past two years.
Now we are almost half way through April and what I've stated above has not happened in even the smallest amount!

I have been very busy however.  I decided to embrace the opportunities presented to me and go with it.  I mean, a completed project is a completed project, whether new or old, right?!!  
😉 That logic works for me. 😆

 I'm  very excited over these three new projects.

I acquired a Start-Right EZ3 Grace hand quilting frame.  I couldn't wait to get a top loaded and start quilting.
 The Ribbons Quilt turned out to be the perfect size.  The colors make me feel happy.  But most important, I really want to see this ready for use!!  I have to go with that incentive.  I even have a name for it now - Green Chili Salsa Ribbons.  (Still deciding if I will included Ribbons in the name.)


The 2019 board members of Possum Town Quilters quilt guild presented a Medallion Quilt Challenge to members.  I'm going colorful with mine.  The red hearts are the first round. The purple hearts are Round 2.  And the next round was presented to us this weekend, it must have squares and half square triangles.  I hope I can use some of the 2.5" crumb squares I've been making.

And the third project is another challenge presented to PTQ members. 
It's an Ugly Fabric Challenge!!
Arguably, there are no ugly fabrics... but there are some challenging ones!!
Each of these projects will have their own blog update with all the details.
I'm counting on this update to help keep my motivation up.
I am feeling lots of excitement over these three projects!!

Saturday, April 27, 2019

Designer's deserve recognition!

The 2019 board members of the Possumtown Quilters guild have presented a medallion quilt challenge to any members that want to participate.

At first I resisted joining in, because, you know, "I'm.not.starting.projects.this.year!"  Except, a lot of my quilting friends are participating and I don't want to be left out!

I had the hardest time picking a medallion design.  
I knew I wanted hearts.

I tried sketching something up for myself.  Nothing felt right.  I tried curly cues, paisleys, and hearts.  I added circle and leaf shapes to fill in.  In other sketches I sampled zigzags and wiggles and waves... None made me think "That's the one!"
 

Designing is hard!  Like anything you want to do well, it's a skill that takes lots of practice.  Apparently, I definitely need more practice!
Possibly, my limitation is I'm not seeing it in color.  I was getting the idea from my head onto the paper just fine but my eye wasn't seeing it in fabrics.  And my sketches are not inspiring me... (Yet! I'll hold onto them for a bit and let them steep for a bit.)

I'd love to stitch up an applique collage some day.   However, I'm already two rounds behind on this medallion challenge!!  I needed something less time consuming.

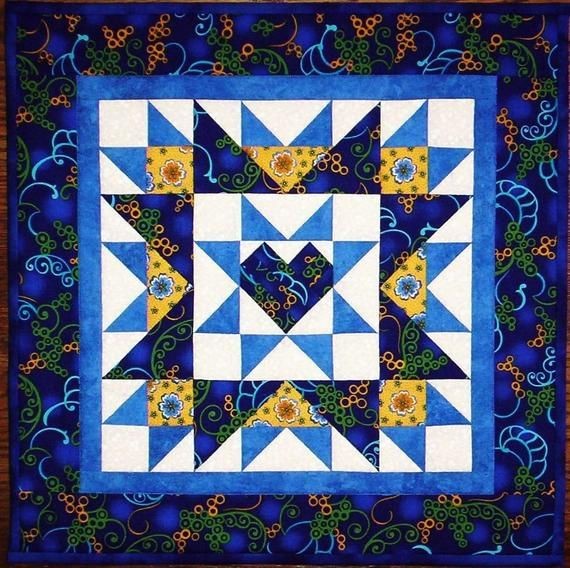
I saw this pinned in Pinterest:
"Joyful Heart" designed and sold by DoodleTimeDesign
https://www.etsy.com/listing/84002852/joyful-heart-fat-quarter-friendly-mini
It has hearts and stars! 🥰
Isn't it perfect!

Ok! It looked simple enough, I mean common pieces - triangles and squares .  I'd easily draft my own version.  Over the years, I've made a few pieced hearts and more stars made with flying gease units than I could count...
I figured the center star had 2.5" unfinished corner squares.
That makes the flying geese unit 2.5"x4.5" unfinished.
And that makes the heart square a 4" finished unit.
Easy! So I pinned the picture without clicking on the link, without checking the designer's thoughts or notes or Etsy listing...

Instead, I drafted the heart square up for paper piecing. Which would have worked fine but I didn't like how this particular love bird print had to be cut for piecing.
I redrafted for a whole center piece and hand appliqued the top center point.  I used the clip and flip method for the corners.
So, after about three hours working it out, and two or three attempts, I finally had the center heart that I wanted.  


Moving onto the first star,  I accidently sewed purple corners on and completely lost my star.  After unstitching and putting the correct color in, this small 8.5" square is all I had accomplished by the time I had to stop to make dinner.  Doesn't seem like much!

The next layer is made in several steps.
I worked on side units after dinner.  I plan to use my 2.5" crumb squares throughout this quilt.  This seemed the best time to start putting them in.  I made oversized 2.5" x 4.5" crumb rectangles for the large center triangles before attaching the large focus fabric triangle.
Unfortunately, I don't have pictures of this step.  I was figuring measurements and having to get creative with the piecing.  Getting pictures wasn't a priority at the time.
Thankfully, my unit turned out perfectly. 🤗 And it was just after midnight.  I allowed myself to stop and get some sleep.

Apparently, I was eager to get this all put together, because I was wide awake at 5:30 and needing to continue.
I used crumb squares in the corner units, which are basically a 4-patches made with two half square triangles and two squares.
Do you see my mistake?

It was easy enough to fix 😉.

Now, to get to what I really I want to tell you.  Over literally 24 hours, I was able to figure out how to make the whole block without purchasing the pattern from the designer.  Good for me. 🤔  HOWEVER...
Had I purchased the pattern to begin with, I probably could have made it in considerable less time!  Maybe 5 hours, 6 tops.
Because, when you purchase a pattern you are skipping the whole trial and error step.  The designer has done all that work for you!  The designer takes the time to list all the precutting measurements.  You don't have to do the math!!  Patterns give you order and there's a certain confidence that all the pieces will fit together.
Plus, in this pattern, the designer is giving bonus optional center patterns - a Christmas tree, a pumpkin, and an Economy (square in square) patch!
And this particular pattern is only $5.00!!
It is really well worth the purchase.  Which I did after piecing the first side unit.  I was well on my way to being finished with the whole block, but I HAD to show my appreciation to the designer.  (I was also curious about her piecing techniques.  The pattern is all paper pieced.)
After skimming through the instructions, I think I'd love to make another Joyful Heart using the designer's methods.  I'll be sure to document and share my progress when/if I do.

And so I'm sending a huge "Thank You" to designer Ms. Faith Wellman and am sharing a link to her Etsy shop Doodle Time Designs.  You should have a look!  And here's a direct link to Joyful Heart if you'd like to make one for yourself 😉.

But right now I'm moving onto the next round of the PTQ Medallion quilt challenge - it must have squares!!  And I have a plan, a colorful plan! 😆🥰