Thursday, November 18, 2021

A Whimsy Hita day


I am reorganizing my sewing room. I was able to get wall shelving from IKEA. It's appox. 72" tall by 72" wide. And the cubbies are tall enough for the 11.5" mini bolts that I have been wrapping yardage. 


I couldn't put the mini bolts upright in the other cubby shelves.
However! I just found out that comic boards work great in these cubbies perfectly!  
I'm super excited that I can still use these shelves for my fabrics too. I really do need all of them!

Because, see? I still have fabric in boxes. Yes, next week is the two year anniversary of moving into this house.  Storing fabric in cardboard boxes is not ideal. It could contribute to discoloration. Or if there's any moisture, it causes deterioration or rotting of the fibers. Just something I need to keep in mind and get those boxes unpacked!


Look what turned up!!
It's a Block of the Month that Diane Keller was teaching us at Luanne Locks' 
Quilt Loft in WA. I noticed one of the block instruction papers had the year 2012! (This project never saw the Mississippi sunshine. We moved there in 2014!)

All twelve blocks are there. The last two are cut out and need to be assembled.
I contemplated why I might have stopped working on this quilt.
I placed the fabric that had been intended for the border alongside the blocks. I suspect that's why I didn't continue. Although the colors are all there, the border and the blocks don't quite blend together.
I'm determined to finish this one, all the way to quilted, bound, and labelled! It's just a matter of finding the perfect sashing/border fabric. Wish me luck!!

After the BoM, I found a plastic store bag of fabric strings. True fabric strings. The slivers that are cut  when squaring up yardage. Slivers that are even less than a 1/4" sometimes.  Other quilters throw slivers into the garbage...
Yep. Distracted from my task again!
I'm guessing the slivers are as old as the BoM.  And since I've kept them this long, I might as well put them to use, right?! I spent what must have been a couple hours twining the slivers that were long enough into fabric rope. Isn't it pretty? I have no idea what I'll do with it, but for now just seeing it on the shelf makes me happy.
j

Twining the fabric rope led me to picking up this little rug again. I had to take a few inches out because it had started bowing in the middle. Then I set it aside. 
Well, I picked it up again but I couldn't remember how to make the knot I was using to secure the coils. 
I untied a knot, inspecting it carefully as I deconstructed it.
Then wrapped my needle the way I thought it went.. nope
deconstructed another knot. wrapped my needle again... nope
finally I came up with a knot that felt as secure as what I had before, but it still isn't that knot.
Now that I am composing this update, I had the idea to look at a past update about starting this rug - Over and over and over.  There is not any description or directions for the knot, BUT! there is one single picture that shows the needle wrapped! I think it's the clue I might need to reproduce that knot. I was tempted to run to my room to try it out, but I know I wouldn't make it back to composing an update tonight. I'll try the knot tomorrow.


Today yesterday was dedicated to hand sewing.  I found a really cute pattern called "It's in the bag" by broderie.
 

Hand stitching is very much my thing!!
I stitched ALL day...


the pattern has 3 sizes.  I made the medium size.


I was so excited over this finished project that I forgot to get a picture of it before taking it to the store!

I got fabric from the Primrose collection for the next bag. It's soft pinks and blues, with little flowers. So very much my Whimsy! This one is going to be a store sample too. But I'll get a picture of the two together.


Ok! Time to get some work done. (I need to go over some calculations for a project at work tomorrow.) Then hopefully I might have a few minutes to mark and cut the pieces out. I can hardly stand making myself wait!

Thanks for stopping by to see what I'm up to! Wishing you much happy creating. See you soon!


Saturday, November 13, 2021

It was 9-Patch Workshop day


I held a workshop at The Old Craft Store today.
It was quite fun. 

My purple scrappy 9-patch was inspired by a Pinterest pin that lead me to a tutorial by Red Pepper Quilts.  I wrote about making up my quilt in The Old Craft Store blog update Opportunities to create!

The funny thing is that the pin photo inspired me and I didn't actually read the Red Pepper Quilts tutorial until after I made my quilt top.  I mean, nine-patches are a basic quilt block. It was one of the first I learned how to make!
Red Pepper Quilts and I differed in our construction techniques! Red Pepper Quilts used strip sets and I cut each of my squares first before assembling the 9-patch. I tell you this because while their method is faster, the method I used allowed me to use more of my smaller scraps.
But it was great providing different techniques to today's workshop attendees.

And they jumped right into making their 9-patches.


combining both techniques sometimes

one of my favorite sounds is the humming of sewing machines!


I, myself, got distracted with the crumb pieces. And my co-worker Doris happily contributed to my distraction by giving me some of her left over pieces.


I did get a few 9-patches done. Wow!! Is it too gold/yellow?! I'm not sure I'm ok with this. I'll need to make a few more to get a better look at my color choice. 🤞


Doris chose to use only blues and it's already very stunning!!

 Unfortunately, I didn't get photos of the other attendee blocks while up on the design board. It's really neat to see how color choices make the same block look so different! I do hope I get to see how their 9-patch tops turn out when finished.

Other piecing I've been working on...
A Pickle Dish pattern in the book "Quilt Romance" by Kaffe Fassett.
More about my Pickle Dish in The Old Craft Store blog update Stash builder doubles as stash buster

And I'm stitching a Cathedral Window!! Much of my stitching focus will be on this project now.  I'm machine piecing the foundation, then the rest is done by hand.  
I'll be doing a class in March or April, depending when the Chickadee collection arrives at The Old Craft Store.

Thanks for coming by to see what has been striking my Whimsy!


Wednesday, October 6, 2021

what does it mean??

 It's close to 4 in the morning.  Much too early to be awake!
Two things woke me. 
One was a full bladder.  This is not really anything new. My late Chewie pup was 15 or 16 years old and needed to go out at least once a night to go potty.  Since I got up with him, I went for myself as well. I assure you, I used the inside facilities. But you understand, years of routine is sometimes difficult to break. However, I am finding going back to sleep is really much easier.
The second thing is that I woke from a dream. I am a firm believer that dreams hold meanings/messages for me.  I am not a great dream interpreter. I often call my brother who has more knowledge on these things and he helps me sort it out. Or I do a "dream meanings" internet search 😄. I know, it doesn't sound very reliable, but it's surprising how often the meanings actually fit!
This morning my dream provided me with three words that repeated over and over as I became conscious... The fact that the rest of the dream faded but the words continued to repeat in my head has me asking "what does it mean?!?"

By this time, it became very clear that I was not going to get back to sleep. I might as well get out of bed and continue working on the store sample I'm presently stitching up.
The pattern is #179 Leaves by Corey Yoder. I am using prints from Corey Yoder's new "Cozy Up" fabric collection. Aww, these prints are truly COZY!


In the pattern the background and the leaf veins are the same color. I chose to make the leaf veins a different color than the background. But first I had to try it out and make sure it was going to work for me...
I started a scrappy Leaves quilt 😄 before starting the store sample.

Once I was satisfied that my plan would work. I got started with the real deal
I love making one block at at time. I like seeing a finished block rather than making the sub-units to all the blocks first. However, I was determined to follow the instructions (minus the little color option.)

 Cutting all the pieces out was the first step.


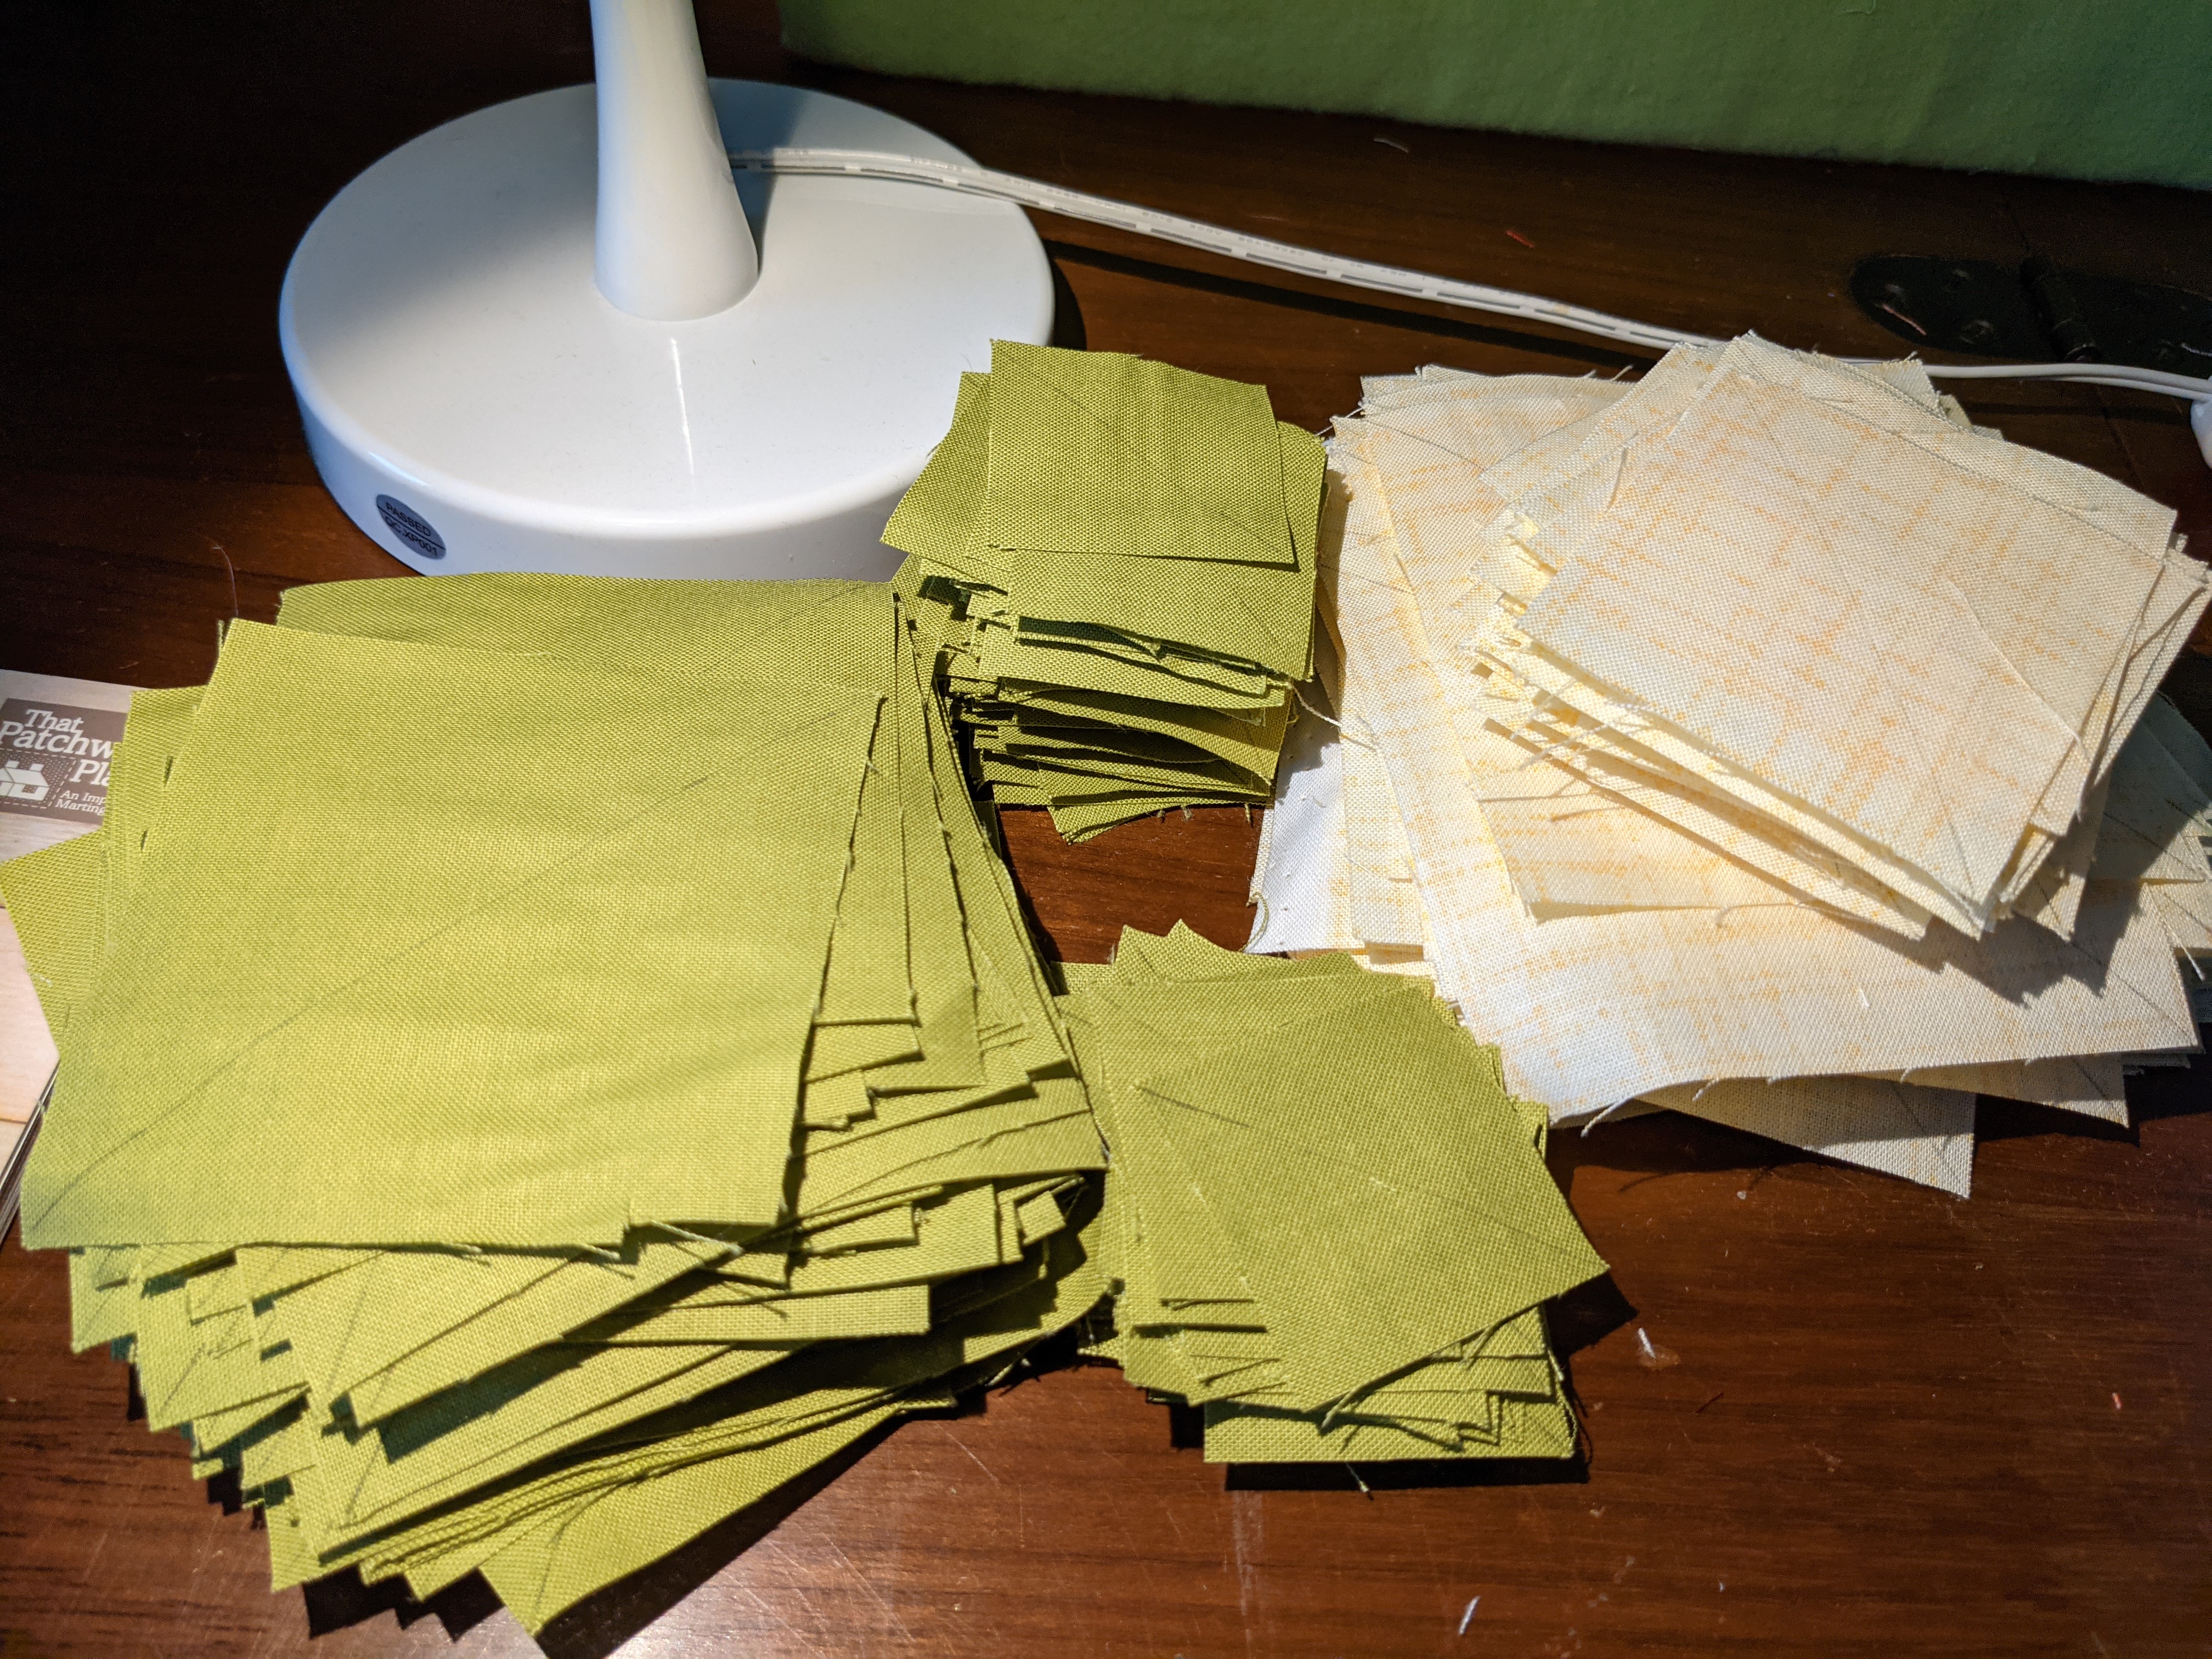
Here are all the background pieces... 


... ready for probably my least favorite part of piecing - marking the diagonal.
I did it though. I marked every single one of them before moving onto the next step.

  
One of the first two units is half square triangles (HST).
I was still following steps. And proud of myself for sticking with it!
Trimming HSTs is just this side of marking diagonals, in my opinion.
However, the best part of this method of marking and trimming is that it is a great way to make perfect HSTs. So "least favorite" means I still love the method just not as much as piecing the finished block.


This is where I diverted a little bit...
The growing pile of those tiny triangle corners that are trimmed off in the next unit got me!


yep, I started piecing those itty bitty pieces together!
I have no idea what will become of these micro blocks.
I just wanted to see if they could grow into something. And they did!!

now, back to the steps...
The last sub unit waiting to be pressed...
and trimmed...
and matched with the other units (that still need a little trimming too)


All in all, I've made good progress. Almost half of the leaves are made.


Do you care to know what the 3 repeating words were?

"a non-stop starter"

perhaps I was calling myself a non-stop starter?
That even when I am focused on one project, I can't resist trying (starting) something on the side 😋.
The thing is. I have been giving this some thought lately. At this point in my quilting journey, my end goal is not having a finished quilt. Meaning a quilt bound and labeled and ready to send off to someone, where I may or may not see it again.
If I have a goal, it's to experience the beauty of my creations. It's the pleasure I get from a new-to-me technique. It's daring to put two colors together that I normally wouldn't and being pleasantly surprised that the contrast is a perfect pairing. It's the continuous learning.
My end goal is loving who i am as an artist. 
Loving who I am and what I create
however far it's created, eventually it will become something, either by my hand or some new hand. I'm not worried about that.
Sure! I'll claim to be a Non-Stop Starter! (for now anyway)
Wishing you joy and happiness in whatever you do. I'm going to publish this update without proofing it, please forgive typos and what...  and I am headed back to bed 😉.