Another thing... now that I work in a quilt shop, I was concerned about how much I should write about work related things... But I'll just go for it and continue writing about what I do!!
Ok! so no more explaining, I'll just pick up where I left off... here are some things I've been doing...
Back in June I told you about making a Multi Purpose bag designed by HandyMum Lin in my blog update Two Projects. I really liked the technique and was inspired to make a little mat to put on the bottom of a wire basket that holds tea bags.

It was a quick rough draft. I just went with it. I continued on to the next step so fast that I forgot about reversing the pattern when tracing it onto the fusible heavy interfacing. The shape is the same right or left, so it was good.

I couldn't resist some embroidery.

It was a quick rough draft. I just went with it. I continued on to the next step so fast that I forgot about reversing the pattern when tracing it onto the fusible heavy interfacing. The shape is the same right or left, so it was good.

I couldn't resist some embroidery.

And even more embroidery.

Now, it's being used for it's intended purpose and barely visible! 😏 Well, I know it's there 🥰.

A couple weeks before Sweetling left for NYC, her suitemate had mentioned that she wanted doilies for their new apartment.
I can certainly make doilies!! I hope she liked them.


I am going to be teaching English Paper Piecing at The Old Craft Store. My first scheduled class is Oct 12. No one is signed up yet, but I love the opportunity to create projects.
I came across a book that was given to me a while ago, titled 1,001 Patchwork Designs. I believe it was published 1982. I'm taking inspiration from the traditional block designs and drafting them for EPP lessons for October, November and December.
To me, EPP is best used for Y-seams. Each of my blocks will have at least one Y-seam for teaching purposes. Here is my October block.

I don't really have time to make a whole quilt in EPP (besides, if you have been following me, you know I have a long long term Grandmother's Garden EPP project that I've been carrying around for many many years...) I decided to make this 6" block into a mini quilt and in the theme of hand stitched...

I don't really have time to make a whole quilt in EPP (besides, if you have been following me, you know I have a long long term Grandmother's Garden EPP project that I've been carrying around for many many years...) I decided to make this 6" block into a mini quilt and in the theme of hand stitched...
 I hand quilted it.
Since I wanted to keep all of it hand stitched, I wrapped the backing around to the front to make the binding and used a large running stitch to sew it down.
The Old Craft Store has these mini-quilt hangers for sale, so I made a background quilt to hang and I can change the mini quilt for each month.

But the big project that has been getting most of my focus was the Tree of Life designed by Karen Arzamendi.
(It was the subject of my last update Putting my quilting whimsy out there.) The Old Craft Store purchased patterns to sell at my request. My boss asked for my quilt top to be used as a store sample, and she was waiting to put the pattern out on the floor until she got my top! Although she assured me many times to take my time, I felt a need to get it done.

and now I'm happy that to have it hanging in the store classroom. With a potential class starting in January. If that class does happen, I'm planning to make this again with a chartreuse background! I'm looking forward to it!

With the relief of finishing my big project (for now) I'm turning my eye to the mess I've made while working on it and other small projects. I've spread out all over the house. I know I need to gather every thing up again and return it to the sewing room. However, I had let Sweetling take over the sewing room during the last month she was home. I was so pleased that she wanted to make some clothing items! And I was so proud that she did it mostly on her own, just asking me to clarify a few of the pattern instructions. I wish she would have allowed me some pictures to post here. She did a fantastic job!
Ok! so, I really do need to pick up AND reorganize...
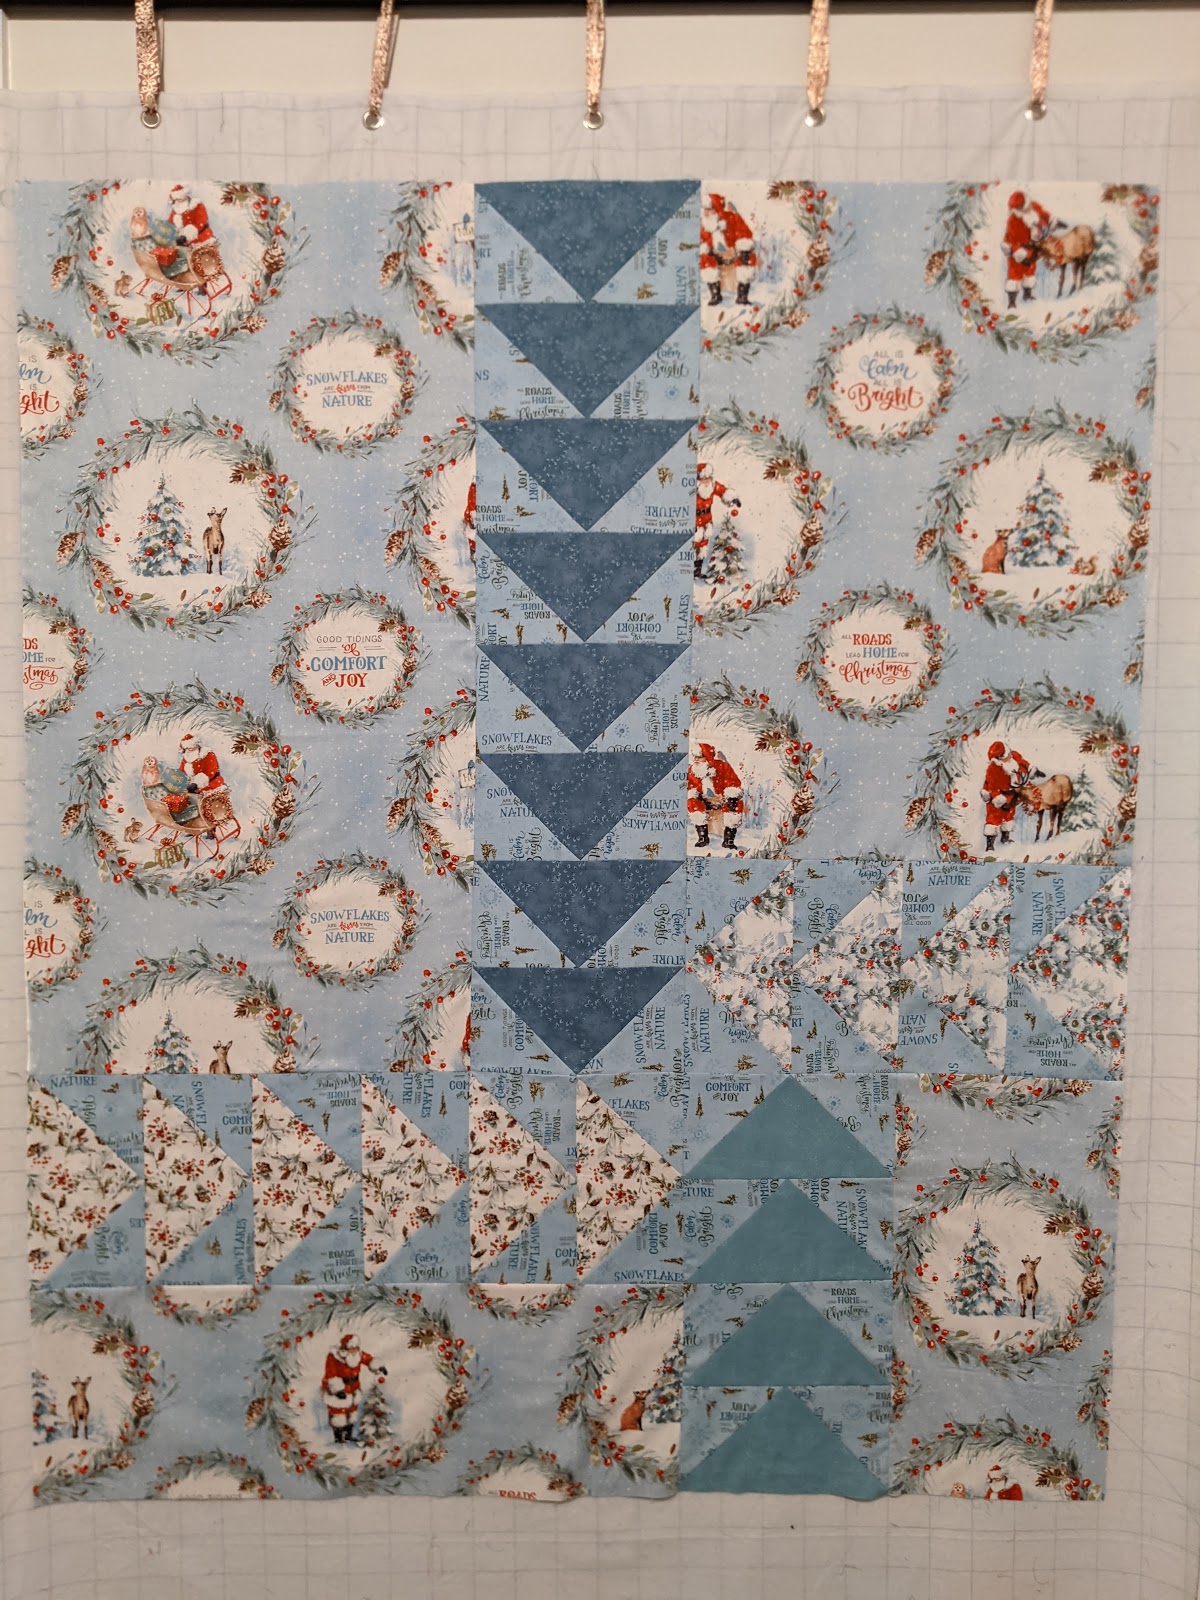
But I'm also helping to organize a Block-of-the-Month that the store will be offering in the new year. I looked through fabric sample books and picked the colors and prints I want for the quilt. I calculated how much fabric for each block. I added up the 12 months and handed the yardage totals to my boss day before yesterday. Phew, another task out of the way... for now.
It will look something like this...(I hope it's ok for me to post it, I wasn't told it's a mystery.. :p)

OK! so that's an EPP class, and an upcoming Block-of-the-Month... I am also hoping to start a scrap quilter's group at the store, Scrap Bag Buddies. The first meeting is scheduled this coming Monday. We'll be working on our own projects and getting to know each other. Eventually, we may have a block swap or pick the same pattern to work on individually but in a workshop/classroom setting.
Sooo, today I've been happily avoiding picking up because I have to have some ideas to give to the group on Monday!
I'm kind of giggling now, because at the beginning of this blog update I said, "No more explaining..." and I've just realized that this whole blog update is one long explaination on how I've found inspiration to do a blog update today... 🤔
I came across this video. I struggle with color theory. The way Judy Gauthier explains how to pick colors for scrap quilts really made sense to me and I wanted to share it, with everyone! (and maybe I have some incentive to hit my sewing room too 😉.) I also have another book to add to my wish list - Rainbow Quilts for Scrap Lovers.
Thanks for coming to read my update. I hope to see you soon! Enjoy the video, maybe you'll see color a little differently. I think I will!


 ,
,