And the blessings just keep pouring in!!
... from every direction.
and the energy is flowing!!
Progress on the Honeycomb quilt top seems to be buzzing along!
 |
| Honeycomb quilt, pattern by Karen Griska |
In March, when I constructed my 108" design wall, I placed the Honeycomb pieces constructed so far on it to show the wall off... I was also hoping that seeing the project up there would inspire me to work on it.

I might have pieced one little scrappy rectangle at that time. But soon the pieces were put back into the box for another day. Even though I already had a pile of strings trimmed and ready to stitch together. It wasn't striking my whimsy.
Then something about making up the Village houses, blogged about in my previous update "Angels and opportunites with perfect timing, sparked that whimsy!

Out came the Honeycomb box and "zoom" went my sewing machine!
This Honeycomb quilt was started in Sept 2019. Watana Cantrell offered it as a class at her Wanna Bees quilting Beehive in Vernon, AL.
I borrowed this picture she took of me in class from her Facebook feed. Lol, I really didn't get much done in class that day 😋. Our move to Texas was just getting put into the works, my mind was swimming with moving tasks that I needed to start.

But now that my whimsy is sparked, piecing strings is very fast! You just sew piece after piece together. You don't have to worry about perfect seams, or straight seams, or intersections! Just make sure there's enough seam allowance to hold over time.
The pattern calls for 1.25" and 1.5" string strips. I used any strings in my scrap bag. I chose to keep the longer strings that were 1.5" wide for the Herringbone scrappy quilt instead of cutting down for this project.
But any strip of fabric slightly smaller than 1.5" wide and at least 3/4" wide was stitched in.
As long as there would be a sliver showing, it went in!
As long as there would be a sliver showing, it went in!


But, it's not a good idea to place those thinner strips at the corners... it causes too much bulk in the seams... hah, these corner pieces are almost smaller than my finger tip! It works, but it's not ideal.

When I was getting close to having all the honeycomb parts I started thinking about the next step of piecing in the background. I thought a darker background would make the colors pop.


I was surprised that the dark blue background made it look really busy. Probably because I already had the light centers.
So I went back to the original plan and light scrappy backgrounds.
I altered the pattern slightly. I wanted all rows of the honeycomb to reach the borders.
My Heartbeat says he can see a secondary star pattern if the honeycomb is full.
My Heartbeat says he can see a secondary star pattern if the honeycomb is full.

I was taking each piece off the wall and stitching. Using crumb pieces inbetween for continuous chain piecing. And when I got confident enough to take two pieces down instead of the crumbs, this is what happened....

It was an easy fix. I'll admit it wasn't the only seam ripping action.
I did end up moving the rows around because the yellow at the top was bothering me.
I think the colors are more even now.

At any rate, the center is all pieced together, and that's how it's gonna live.
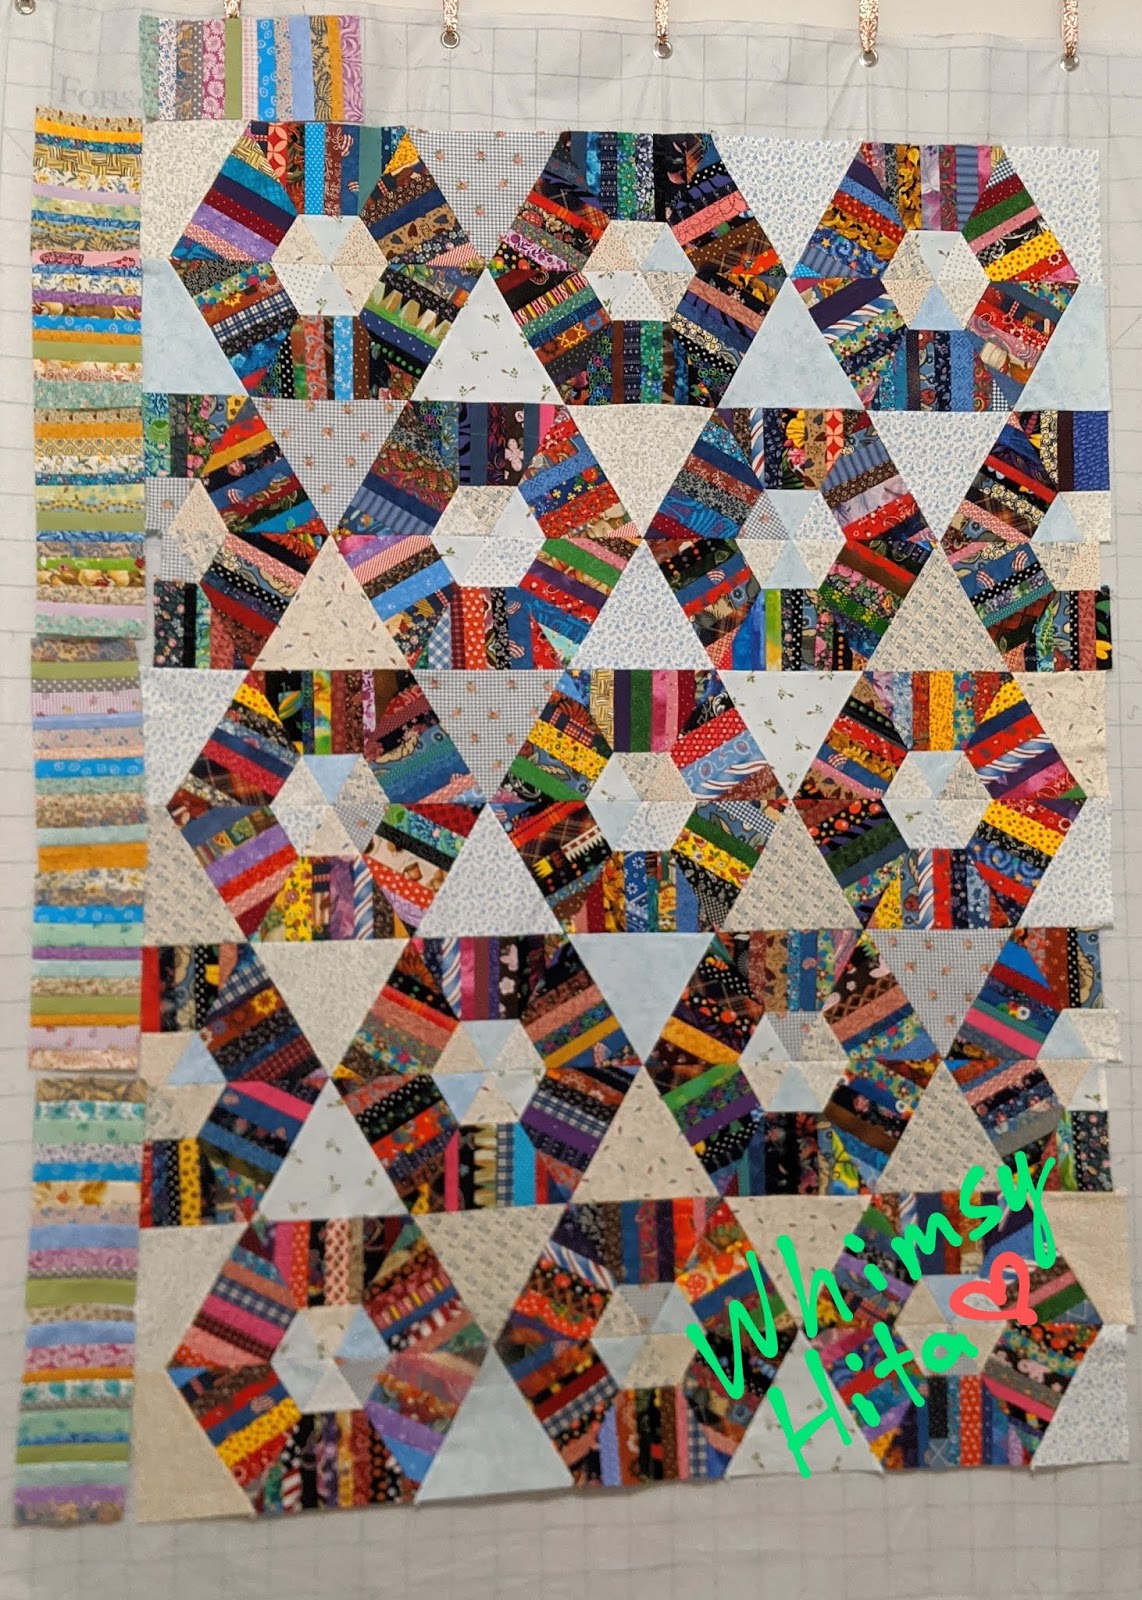
You can already see the border piecing in the previous pics.
I was surprised to find so many lighter fabrics in the scrap pile.

It's a pretty mess, but still a mess and has me thinking I need to give the scrap pile some attention soon! At least, the pile will be reduced greatly by time the border is completed. 😉
On a slightly different note... I just reviewed my last blog update. I was smugly admiring my finished quilt top from the Laundry Basket mystery 2020...

Yep!!! can you spot the mistake(s)? It's a symmetrical mistake anyway.
*sigh* I tell you, the seam ripper never gets put away.
That's ok. May this quilting whimsy of mine continue.
That's ok. May this quilting whimsy of mine continue.
Thank you for dropping by!!
No comments:
Post a Comment